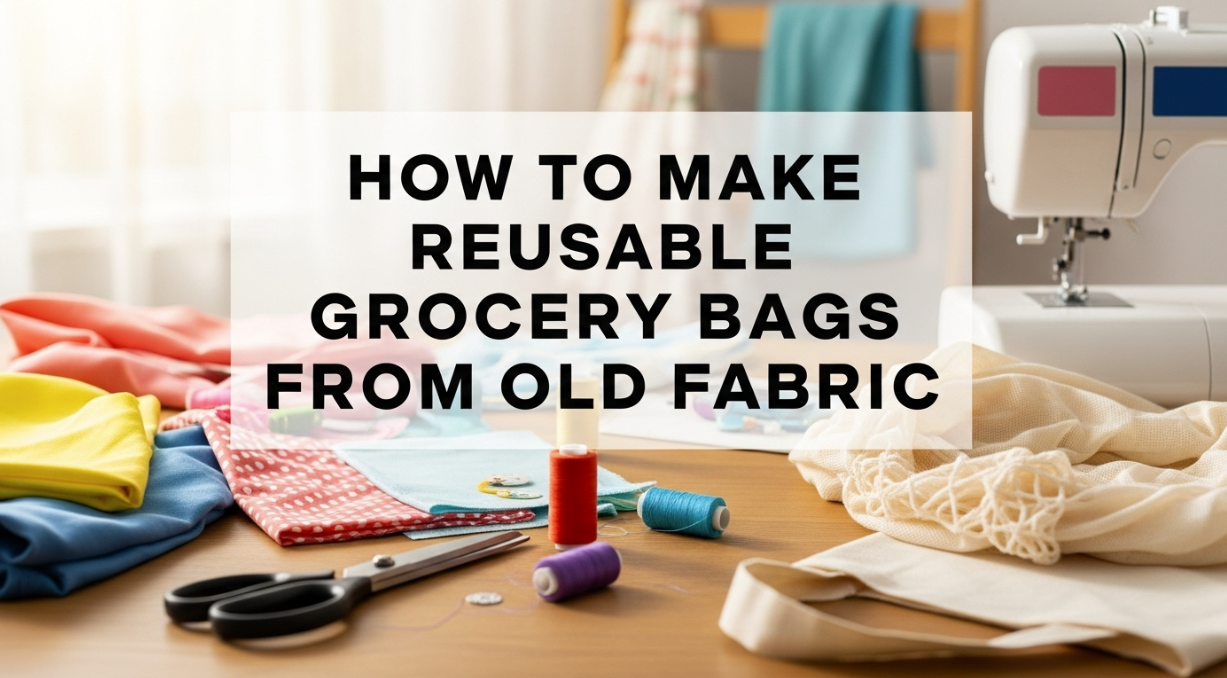
Introduction: Replace Plastic with Purpose
Plastic bags are everywhere but they don’t have to be. If you’re tired of contributing to landfill waste and want a simple, satisfying weekend project, making your own reusable grocery bags is a great place to start. With a few basic supplies and some old fabric, you can create sturdy, stylish totes that reduce your environmental impact and look good doing it.
Why Reusable Bags Matter
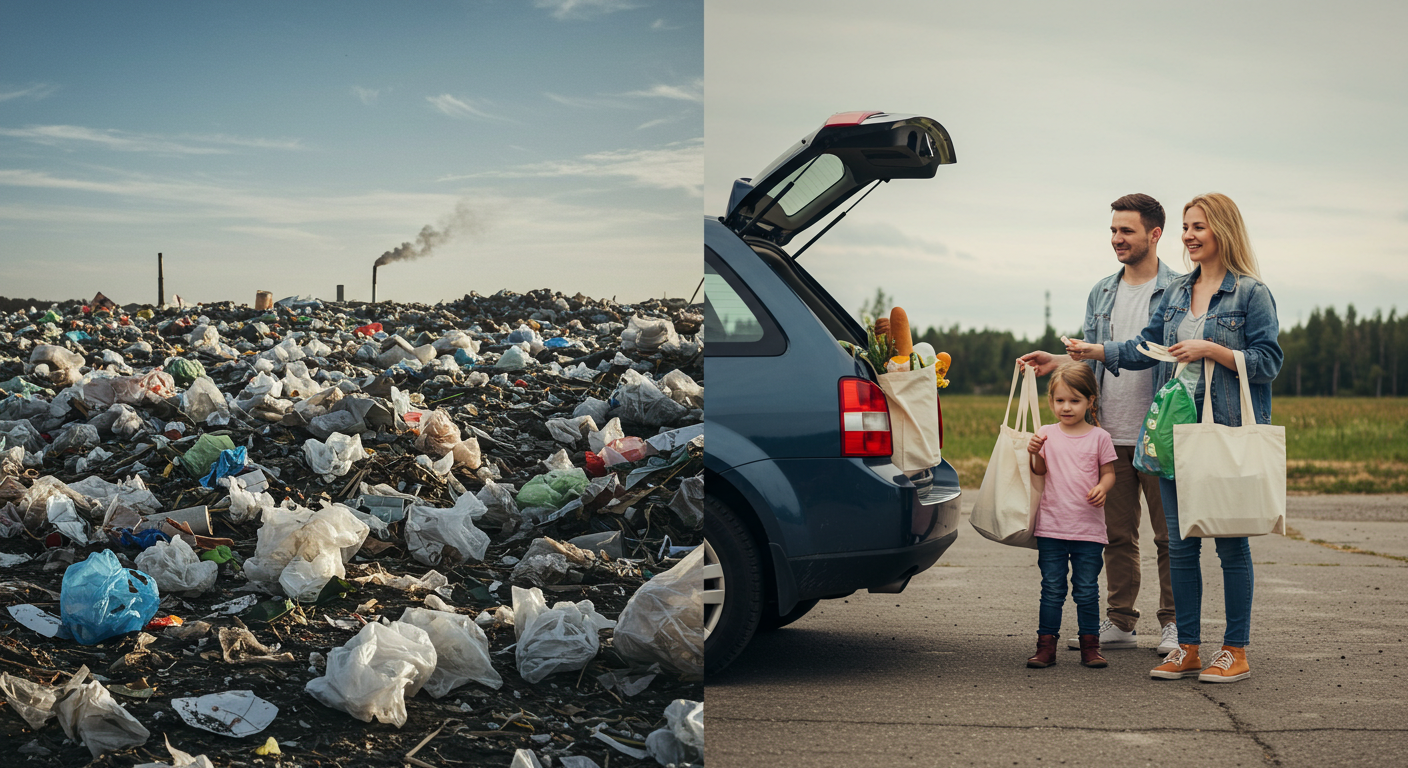
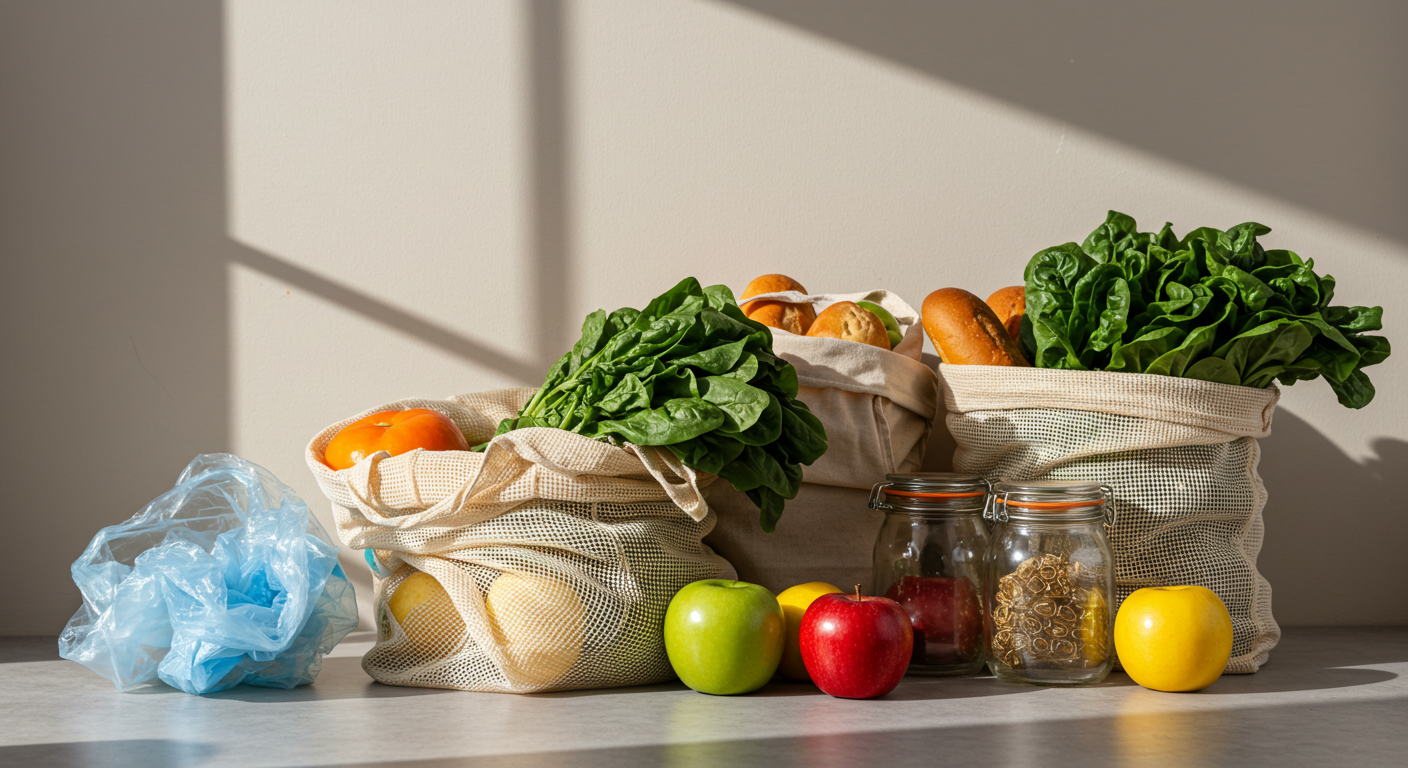
According to environmental studies, a single plastic bag can take up to 1,000 years to decompose, and the average family accumulates hundreds each year. By switching to reusable bags, you’re saving natural resources, reducing pollution, and encouraging more mindful consumption. Plus, when you make them yourself, you’re reusing fabric that might otherwise be discarded doubling your sustainability impact. For more on plastic waste and alternatives, see environmental impact of plastic bags and benefits of reusable bags.
Common Misconceptions
Some people think you need to be an expert sewer to make grocery bags. Not true! Many DIY methods require minimal sewing or none at all if you use fabric glue or simple knotting techniques. Others think these bags aren’t durable. But with the right fabric (think denim or canvas), these homemade alternatives can last for years.
Materials and Tools List
- Old fabric (t-shirts, pillowcases, tablecloths, or jeans)
- Fabric scissors
- Sewing machine (or needle and thread)
- Fabric chalk or marker
- Pins or clips
- Optional: fabric glue, handles from old bags, buttons
Step-by-Step Instructions

Step 1: Choose and Prepare Fabric
Select sturdy fabric like denim, canvas, or cotton. Wash and iron it to remove wrinkles and shrinkage.
Step 2: Measure and Cut
Use chalk to mark out two rectangles (around 16″x14″ each) for the front and back. Add an extra inch on all sides for seam allowance. Cut both pieces and pin them together with the right sides facing in.
Step 3: Sew the Sides and Bottom
Stitch along both sides and the bottom with a 1/2″ seam. For extra strength, do a second seam just outside the first one.
Step 4: Create a Flat Bottom (Optional)
Pinch the bottom corners into triangles and sew a horizontal seam across about 2″ from the tip. Trim off excess fabric to flatten the base.
Step 5: Make and Attach Handles
Cut two strips of fabric (18″x3″) for handles. Fold each lengthwise, then fold the edges inward and sew down the middle. Pin them evenly to the bag and stitch securely.
Step 6: Hem the Top
Fold the top edge inward twice (about 1/2″) to create a clean hem and sew all the way around. Your bag is ready to use!
Customization Tips
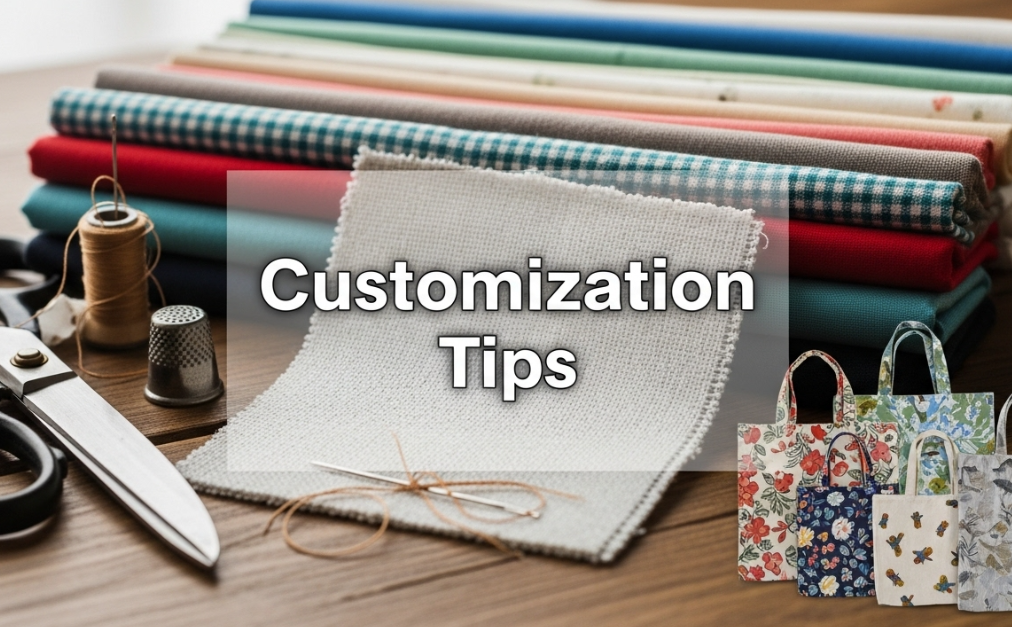
- Use patterned fabric or decorate with iron-on patches for a personalized look.
- Add interior pockets for wallets or phones using scrap fabric.
- Repurpose belts or thick ribbon as durable handles.
Beginner Tips and Safety Reminders
- Use clips instead of pins if you’re new to sewing easier to reposition and safer.
- Practice straight stitching on scrap fabric first.
- Keep your workspace clear of clutter and sharp tools away from children.
FAQs
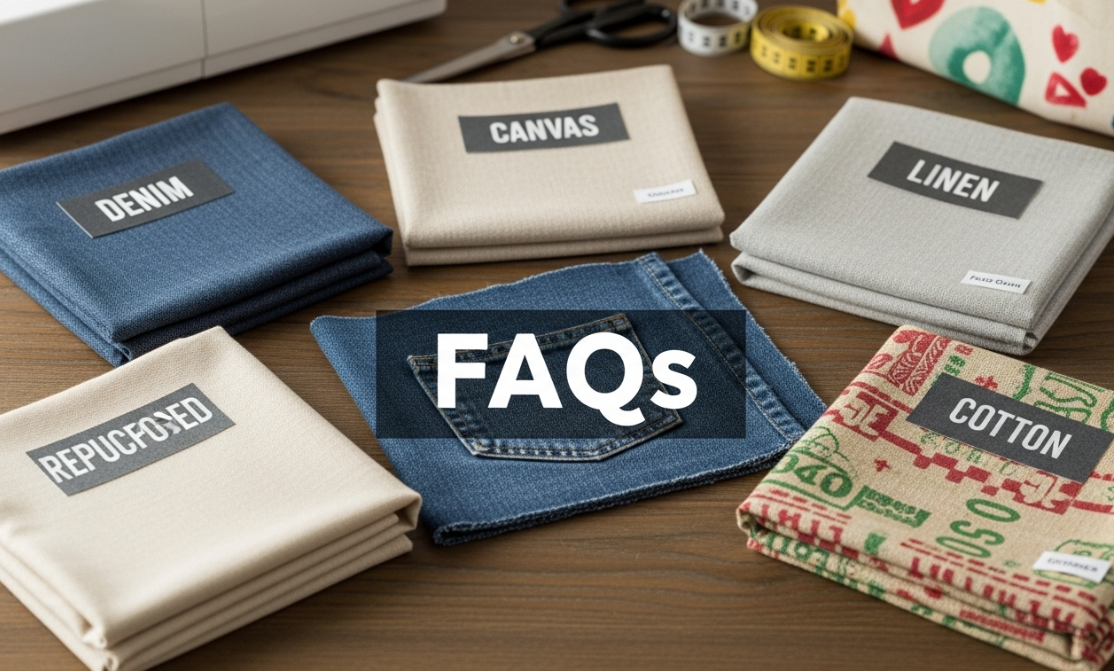
What’s the best fabric to use?
Heavy-duty cotton or denim is ideal for strength and washability. Avoid stretchy materials like jersey unless you’re making a no-sew t-shirt bag.
Can I make these without a sewing machine?
Yes! You can hand sew or use fabric glue and heat bonding tape. Just reinforce the handles to prevent wear and tear.
How many bags should I make?
Start with 3–5 for an average household, depending on your grocery habits. They’re lightweight, foldable, and easy to stash in your car or backpack.
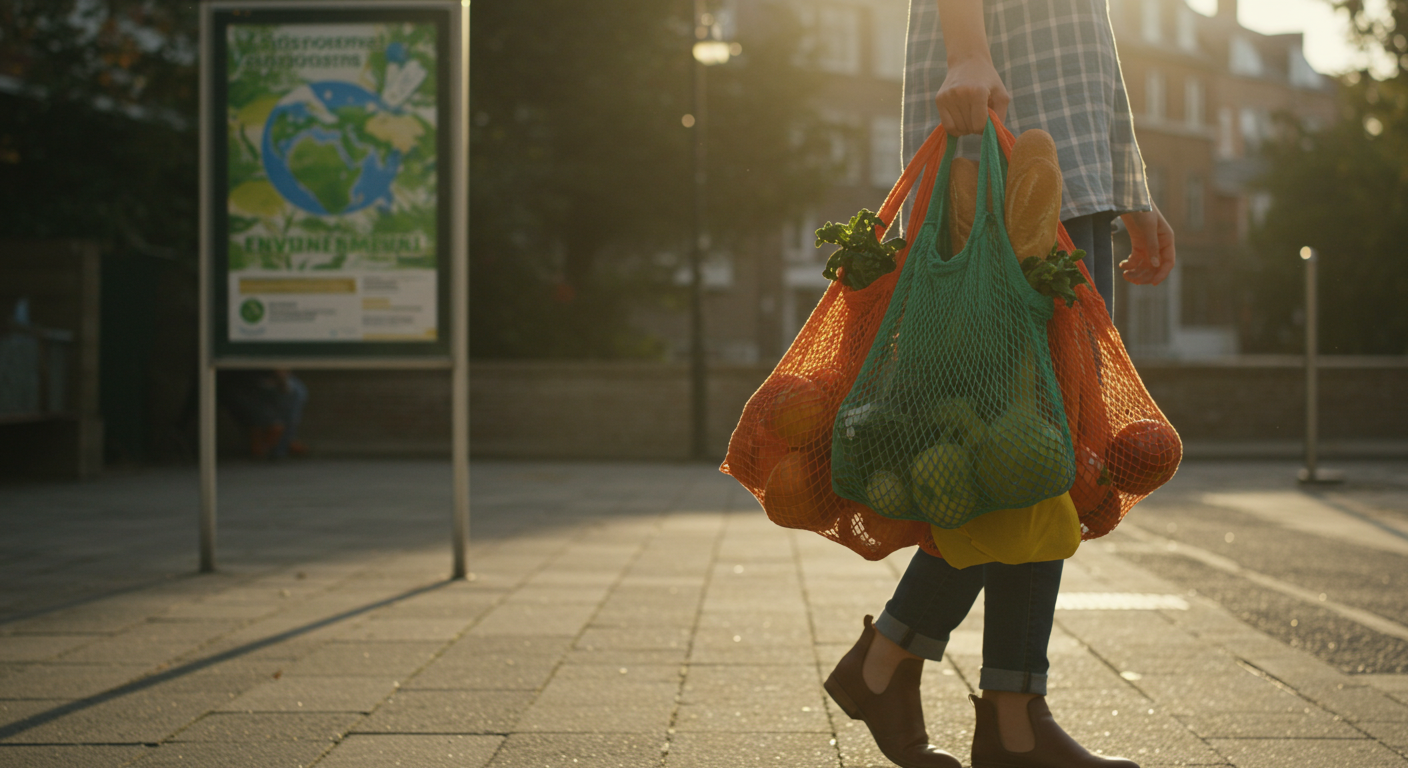
Final Tips: Make It a Habit
Making your own reusable bags is about more than saving money or crafting it’s a small act of environmental rebellion. Once you make one, you’ll want to make more, give them away, and encourage others to join the zero-waste movement. Keep your bags in visible places to remember them on shopping days. And most importantly, use them proudly.
Did you enjoy this guide? Share it with a friend or subscribe for more sustainable living tutorials. Small projects lead to big changes let’s make them together.
| Step | Description |
|---|---|
| 1 | Choose and prepare sturdy fabric |
| 2 | Measure and cut fabric pieces with seam allowance |
| 3 | Sew sides and bottom seams |
| 4 | Create optional flat bottom by sewing corners |
| 5 | Make and attach fabric handles |
| 6 | Fold and sew hem at the top edge |